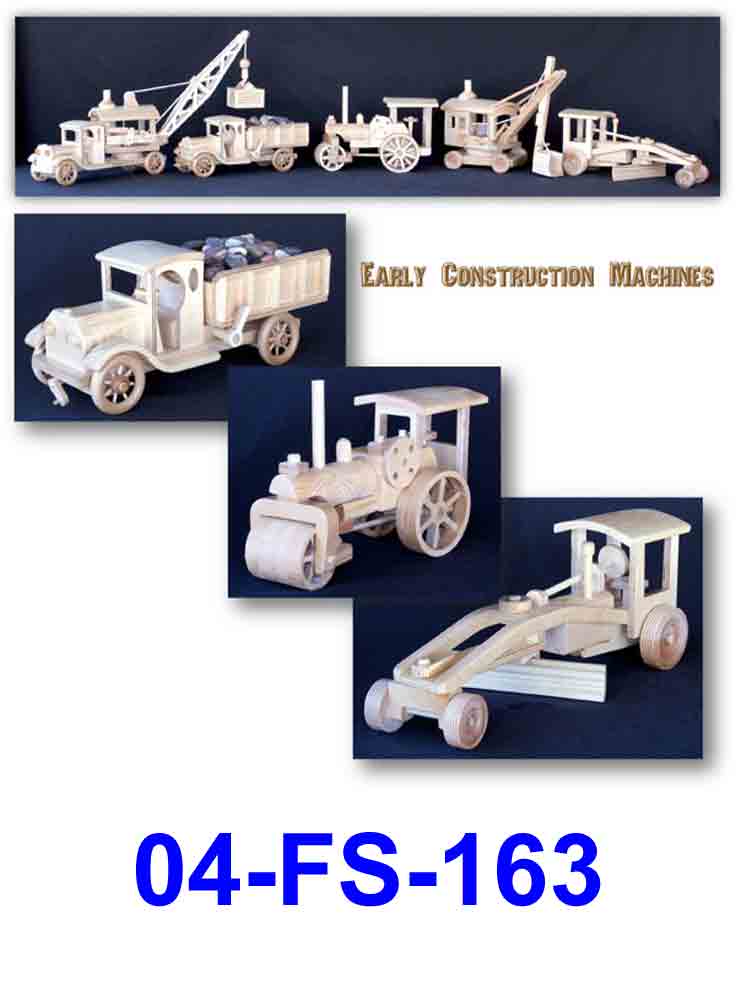
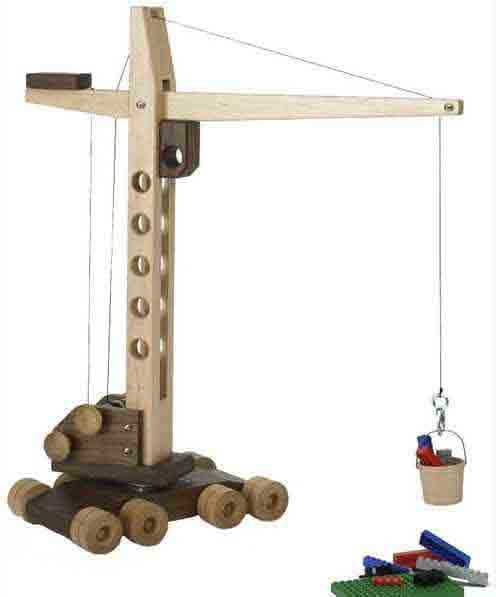
Woodworkers with a passion for making wooden construction toys will love these chunky model toys.
Designed and built to last, these wooden toys make the perfect "made with love" gift for children.
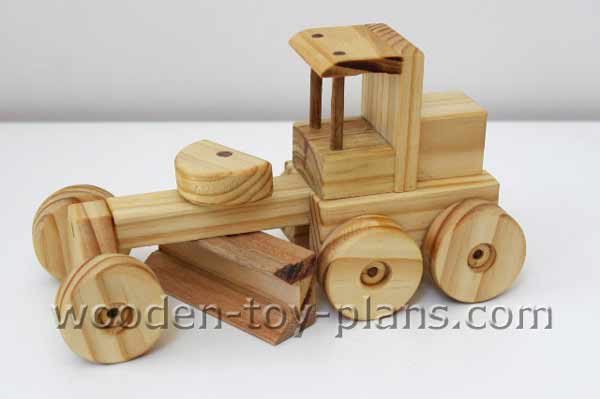
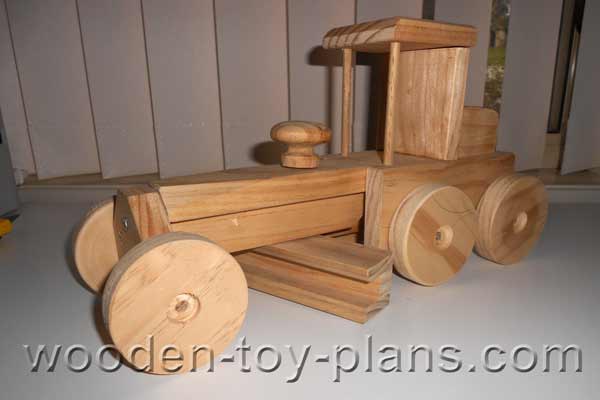
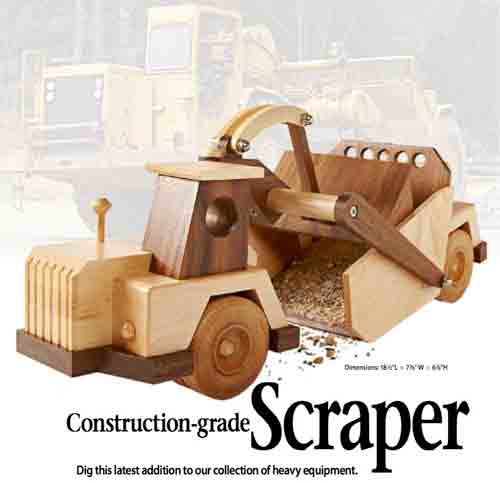
Make this delightful toy grader with this free plan, complete with step by step instructions, diagrams and photos.
There is just enough detail to stimulate the imagination of children and adults alike.
Tools
This construction toy can be made with just a few tools.
A cordless drill is a tool that I use most often and as a bonus, it also useful for driving screws for carpentry work.
Shop for cordless drill on eBay
You may also need the following items to complete the project:
- Hacksaw to cut the dowel axles to length.
- Wood file to round over all the edges.
- Sanding block with 120 and 80 grit sandpaper.
- A selection of drill bits.
A 12 inch disc sander or linisher with sanding disk attachment is very useful for trimming up end grain and squaring off small pieces of wood.
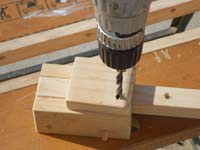
If you are going to make your own wheels for this wooden construction toy, a drill press is recommended. You will also need a 16mm spade bit, a 6mm drill bit and a circle cutter modified to cut wheels instead of holes.
Materials
This wooden construction toy can be made with bits of wood left over from other projects.
I made mine from a piece of left over pine 19mm thick by 140mm wide by 500mm long. The wheels were also cut out of 19mm pine by 140mm wide.
For the six wheels, I used a piece less than 200mm in length, and the extra length was useful in clamping the piece while using the circle cutter.
The blade of the grader was made with a piece of skirting board 200mm long.
For the axles, use 6mm dowel.
Step by Step Instructions
Download a print ready PDF copy of the construction toy plans.

Dry clamp parts A and B together, keeping the two parts B aligned with the axle dowels. Mark the pieces so that it will be re-assembled in the correct order. It is shown in red in the photo only to highlight the idea, so don't actually mark it in red. Apply the glue, clamp it and put to one side.
It is important that the axle dowels are left in place until the glue sets to minimize creep under clamping pressure. Once the glue has set, re-drill the holes to allow the axles to spin freely.
The blade of the grader, part C, is made from a piece of skirting board cut to a width of 30mm. It may also be made from a piece of timber that is 9mm thick, just chamfer one edge to the profile shown in the drawing.
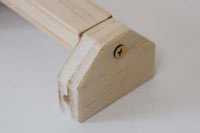
Cut and trim part D to size, and drill the axle hole using a drill press or drill guide. Use the 6.5mm drill bit to allow the axle to spin freely.
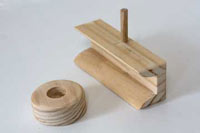
Drill the holes for the roof of the cab by placing it on the body as shown in the photo.
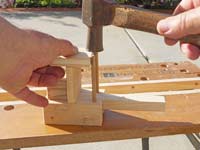
The photo shows how to fix the dowels on place by measuring the height the dowels are set so that they sit slightly above the roof. This is an idea borrowed from the Craftsman furniture movement.
Final Assembly
Glue the roof and engine block in place. Once the glue has set, lightly sand the whole toy with 220 grit sandpaper, removing all the sharp corners.
Attach the wheels with a small dab of glue.
Painting and Finishing
Leave it in it's natural state, or apply your favourite finish. I used yellow food colouring for a bright yellow finish. To make the wheels black, I mixed all the food colours together.
For information on food safe finishes and dyes, visit U-Beaut.com.au includes links to international suppliers.
More Wooden Construction Toys
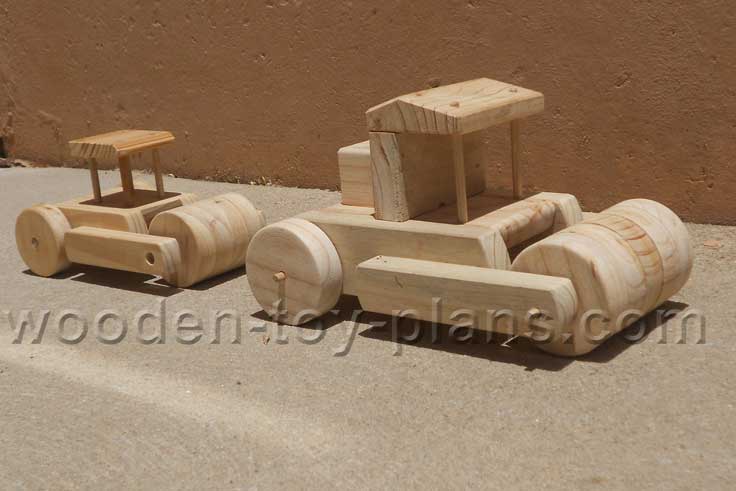
Construction toy plans easy build steam roller.
Price: Free
Large toy road grader, about 20% bigger than the original version of the road grader.
Price: Free
More free wooden toy plans includes tipper trucks, airplanes, cars even a batmobile.
Visit the woodworking projects gallery to view projects from people all around the world.
Original article and pictures take https://www.wooden-toy-plans.com/wooden_construction_toys.html site
Комментариев нет:
Отправить комментарий